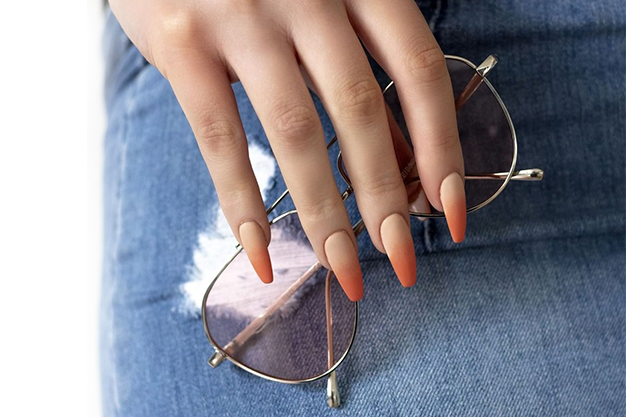
Trends change from year to year, but ombre nails still do not go out of fashion. If you forgot about this manicure technique, read our reminder.
If you haven’t tried the ombre nail polish technique yet – it’s high time you learned it! It may seem complicated, but ombre nails do not require too much time or effort. It is important to prepare the appropriate accessories and materials and to be patient. If you are not satisfied with the result from the first attempt, practice several times.
What Are Ombre Nails
Ombre is one of the most popular ways to combine colors. In this technique, at least two colors are used, which “blend” into each other and thus make a gradual transition. These can be very similar or completely different shades. Also, the number of colors used is not limited, but two or three are most often used.
This way of coloring was designed by Hollywood hairdressers. They got their inspiration from the actresses who avoided dyeing the growth between the two shootings, letting their natural hair grow out. Hairdressers have made sure that this type of hair does not look messy and that is how the ombre trend came about.
So, the ombre coloring technique first conquered our hair and soon spread to nails, makeup, clothes, and many decorative items from our environment. All this goes in favor of the fact that it is an extremely successful and creative way of coloring.
How to Make Ombre Nails Yourself
As a reminder, for beautifully painted nails, it is important to prepare for a manicure. This means that you must first shape the nail plate, push the cuticles and prepare the nails for varnishing.
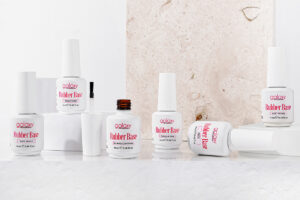
Applying a manicure base is a mandatory step before applying any nail varnishing technique. This product was created to enable better bonding of the varnish, prolong its duration, and protect the nail from unwanted yellow pigments in its structure.
After preparing the nail plate, you can switch to the ombre technique. For this you will need:
- Nail polish to use as a base;
- Liquid latex for cuticle protection;
- Additional nail polishes, different shades;
- Nail Sponges and Nail Polish
- Remover.
- Top coat for extra shine or matte effect
Getting Started
The first and most important thing is to decide which color to use as a base. Our advice is to start by using lighter shades until you practice this technique. Choose beige, pink, or white and paint all your nails in the usual way.
This step is not obligatory, but it can make the whole procedure much easier, so it is desirable to do it. Liquid latex protects the cuticles when painting nails. It is most often used in the ombre technique and when transferring designs from the stamp. Before using the nail polish, apply liquid latex on the cuticles and the skin around the nail and wait for it to dry. After that, you can start creating the design. When you have finished the whole process of painting your nails, remove the latex from the cuticles: simply pull with your fingers or use tweezers to remove this protective film.
The Ombre Technique in Use
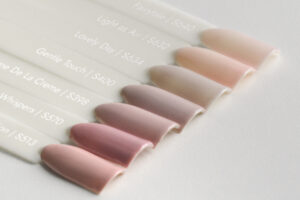
What color you will use depends exclusively on you. Everything is allowed! However, our advice is not to overdo the number of different shades, because the surface of the nail is not so large that using six or seven colors would give an ombre effect. It is important to choose highly pigmented nail polishes so that the color stays evenly on the nail. For a start, you can use only two or three shades, so that one will be the same as the one you chose as a base. Take a look at the color palette of our GALAXY nail polishes and choose your favorite shades.
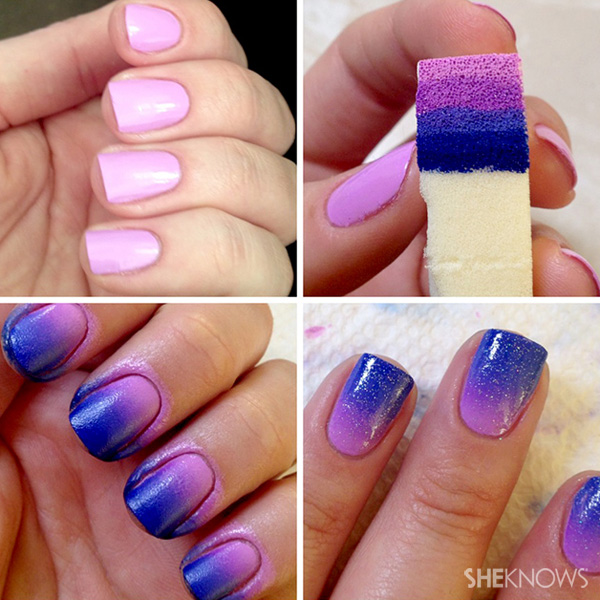
Once you’ve chosen the colors, it’s time to use sponges. In many tutorials on the Internet, you can see that any sponges are used. However, not everyone has the same structure and density, so they absorb nail polish differently. As a result, you may not get the expected results. For a successful finish, choose sponges that are intended for use on nails. You can use them in their original form or use scissors to cut them according to the size of the nail.
On the sponge, apply the desired colors next to each other, in two layers. If you want a classic ombre effect, arrange them in horizontal lines from the lightest to the darkest. Then, dab the lacquered side of the sponge against a paper towel, to allow the paper to absorb excess paint. Then, bring the sponge to the entire nail plate and dab it from the root to the top of the nail, so that all the colors are evenly transferred to the nail. Repeat the procedure two or more times (for stronger color intensity).
Remove Excess Nail Polish
If you have used liquid latex, now is the time to remove it. It may happen that traces of paint remain in places that you did not cover with latex. You can easily remove them with a corrector pen to remove the varnish.
If you have not used the cuticle protection layer at all, you will need a nail polish remover. Excess nail polish along the edge of the nail and from hard-to-reach places is best removed with a brush that you have previously dipped in the nail polish remover.

Finishing Step
Finally, when the nail polish has dried a little, apply a final top coat. This step is extremely important, because the final layer not only gives an additional shine or matte effect, but also protects the nail polish from cracking and thus prolongs its durability on the nails.
This way you can paint all the nails, or just one. The ombre effect can be achieved in other ways as well. For example, you can first apply nail polish on a flat surface, and then pick up the paint by tapping with a sponge. The other steps are identical.
Ombre Nail Gel
The ombre technique gives good results by applying classic nail polishes. Of course, we all want more durable solutions, which is why we love gel polishes, gels, and acrylics. Ombre gel technique is usually done with appropriate brushes. If you are not skilled in using these modern materials and manicure accessories, visit a beauty salon. Nail artists are professionals and they will know how to make flawless ombre nails with the gel technique.
Creative Ideas for Ombre Nails
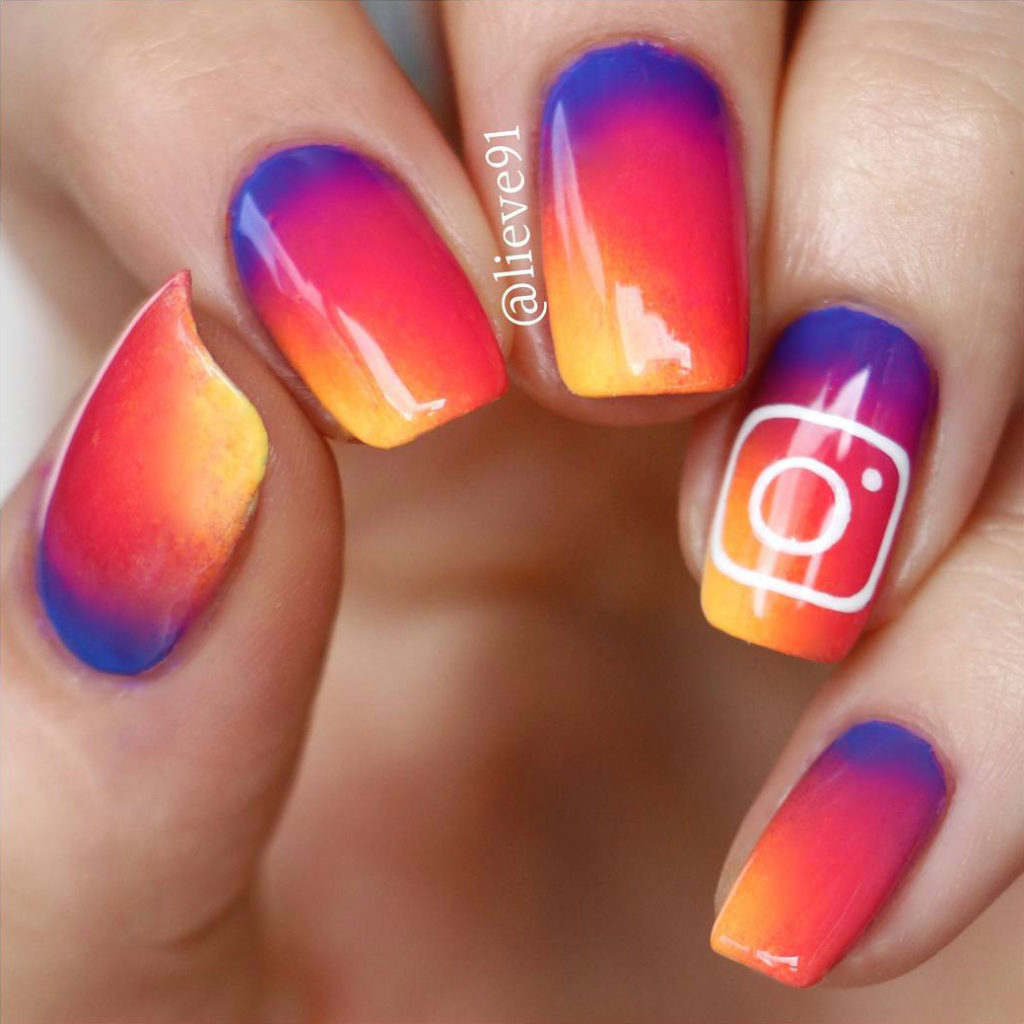
Ombre nails provide great freedom and the opportunity to be imaginative, which is why they are so popular. It is important to choose colors that combine nicely.
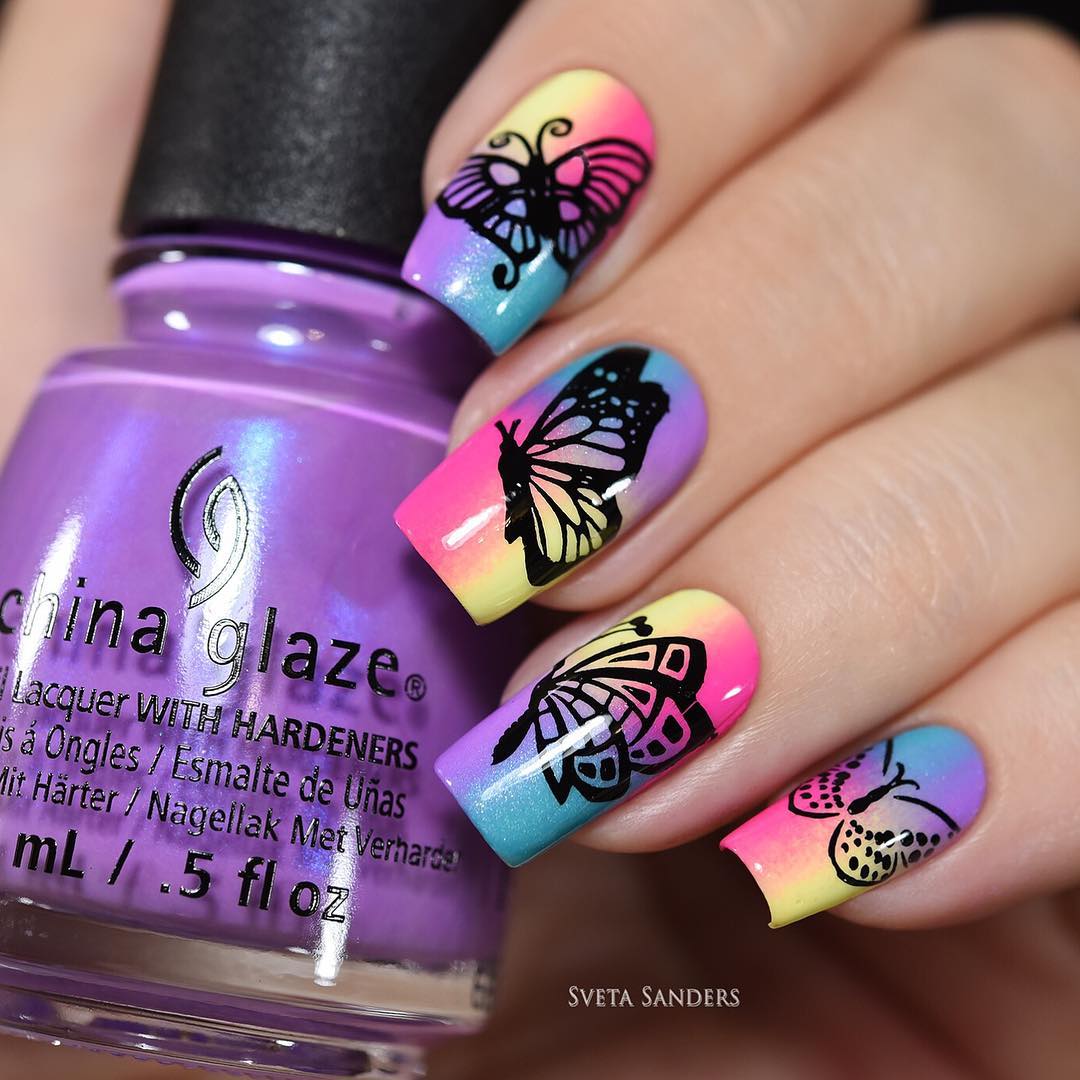
Be innovative and break the monotony. Ombre nails do not always have to have horizontal and parallel lines. Try vertical and diagonal ombre and show creativity. You can apply square shapes on the sponge, in four different colors, and additionally decorate your nail polish with nail stamps.
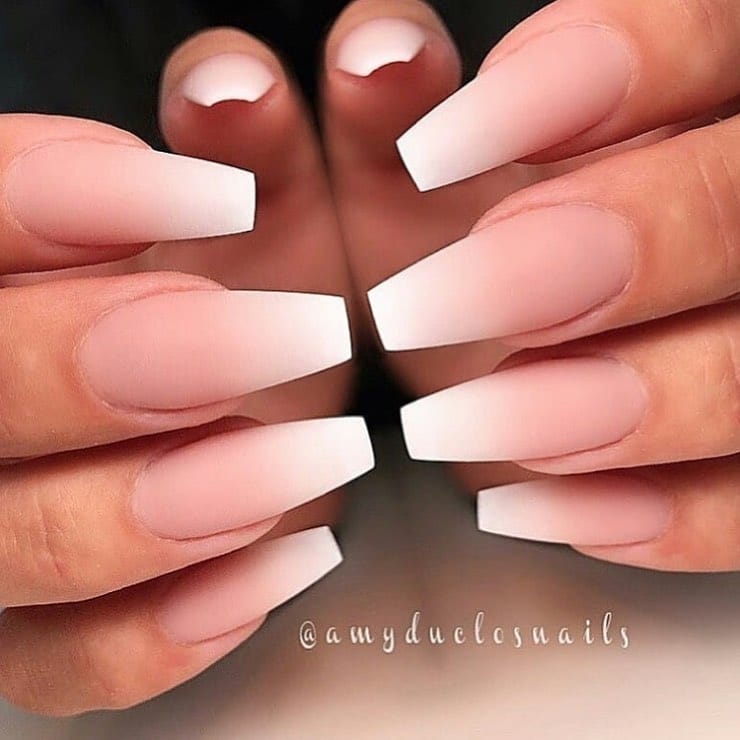
Modern manicure allows combining several different techniques. White ombre nails (milky ombre, or, baby boomer) are a combination of classic French and ombre techniques. They are very elegant and extremely popular in the last two or three years.
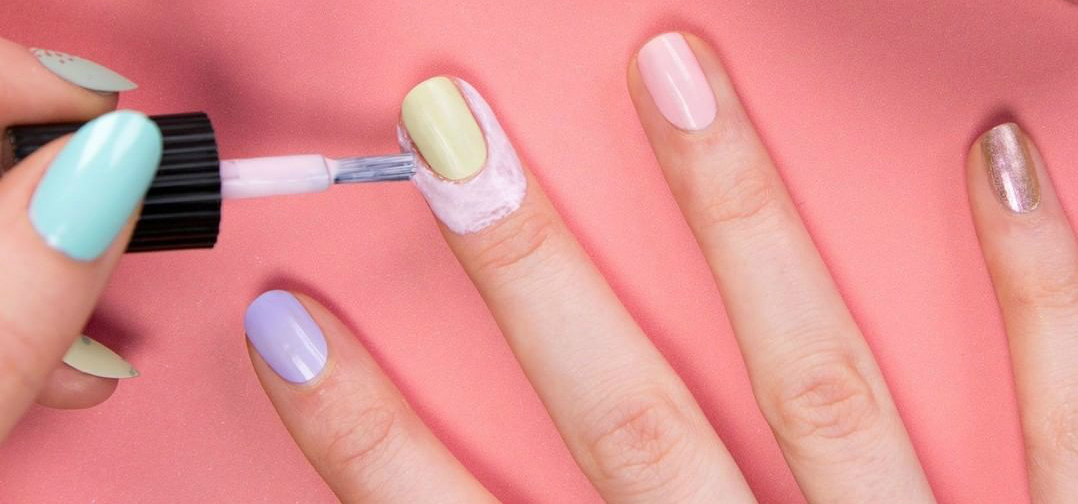
If the classic ombre technique is still complicated for you, and you would like to have slightly different nails, there is an easier way for your manicure to be in ombre style. Choose your favorite color in five transitional shades and paint each nail with a different polish.

Have you also tried the ombre nail technique? What are your favorite color combinations? Share your experiences with us.