Yes, we all love beautiful and tidy nails, lasting color, and a long-lasting effect that the permanent, or gel nail polish, gives us. Depending on the speed of growth of the natural nail, gel nail polish looks nice for a few weeks. After that, it is necessary to redo it or completely remove the polish from the nail. To make our nails look neat at all times, we can do some things by ourselves at home. How to remove gel polish – read below.
How to remove permanent nail polish at home
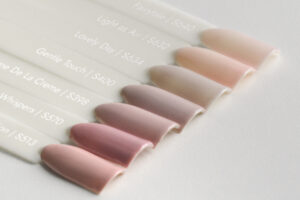
Gel polishes have gained great popularity in recent years and most women adore them. In many beauty salons, these products have almost completely replaced the classic nail polishes. Thanks to them, the effects of the manicure last for several weeks, and the color remains as intense as on the first day.
The current situation has forced us to change our habits. The least we can do now is to postpone visits to beauty salons for a while. However, nail growth cannot be stopped.
If you are also a fan of gel polish, you must have thought these days: “how to remove my gel polish”. To solve the problem of messy nail appearance, we present you with simple instructions for removing gel polish in a few steps. The whole procedure can take about half an hour, or longer, depending on your skills and the effectiveness of the products you use.
How to remove gel polish – proper preparation
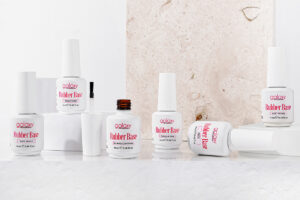
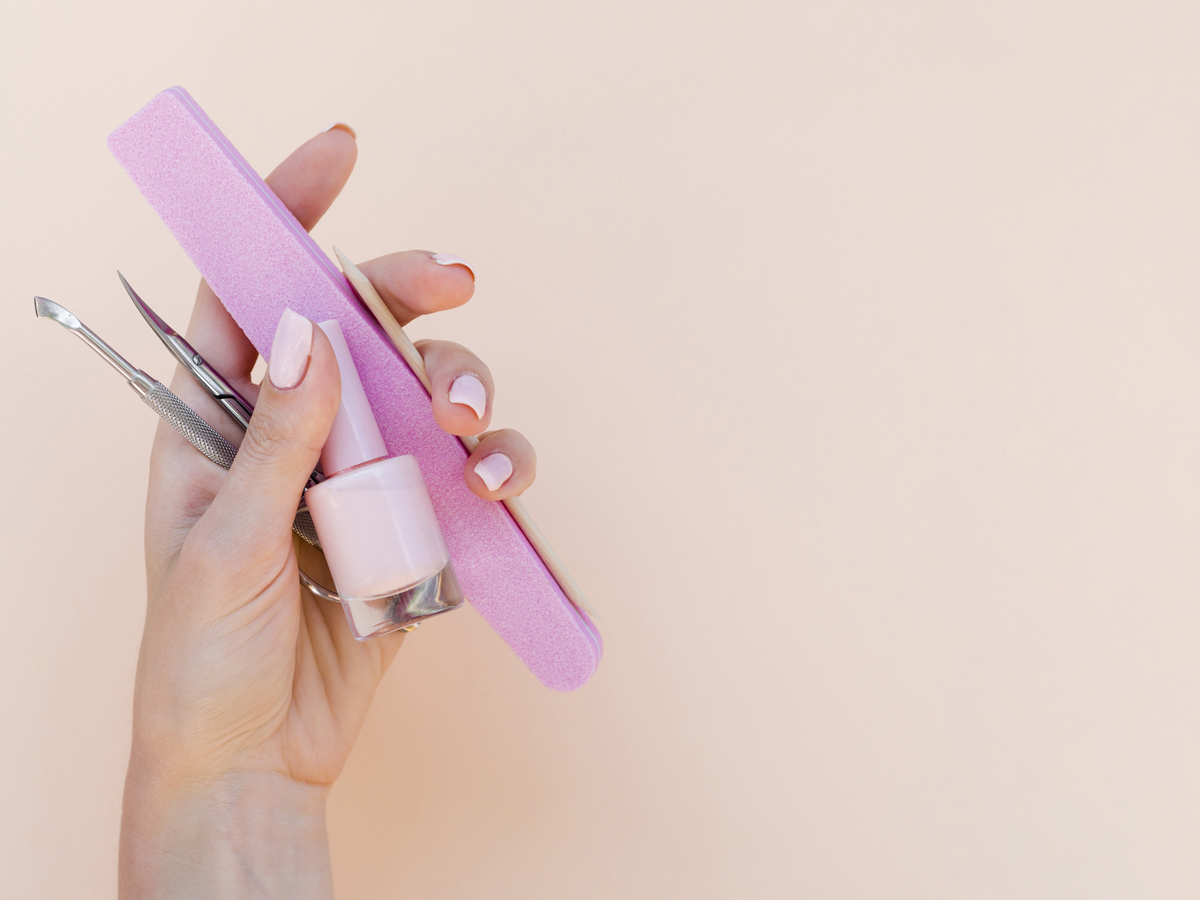
The beginning of any “do it yourself” job is the preparation of materials and tools for work. To remove gel polish, you need:
- nail files of correct granulation;
- foil with sponge;
- permanent gel polish remover;
- dust brush and
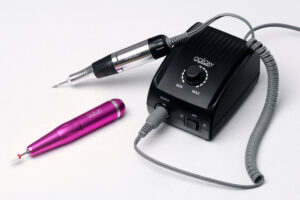
- gel polish remover tool.
Before the very beginning, place a towel on the table, so that in the end you can clean the work surface faster and easier. Keep all materials and tools easily accessible when working. For starters, wash your hands with warm water and soap to remove excess grease and dirt from your nails.
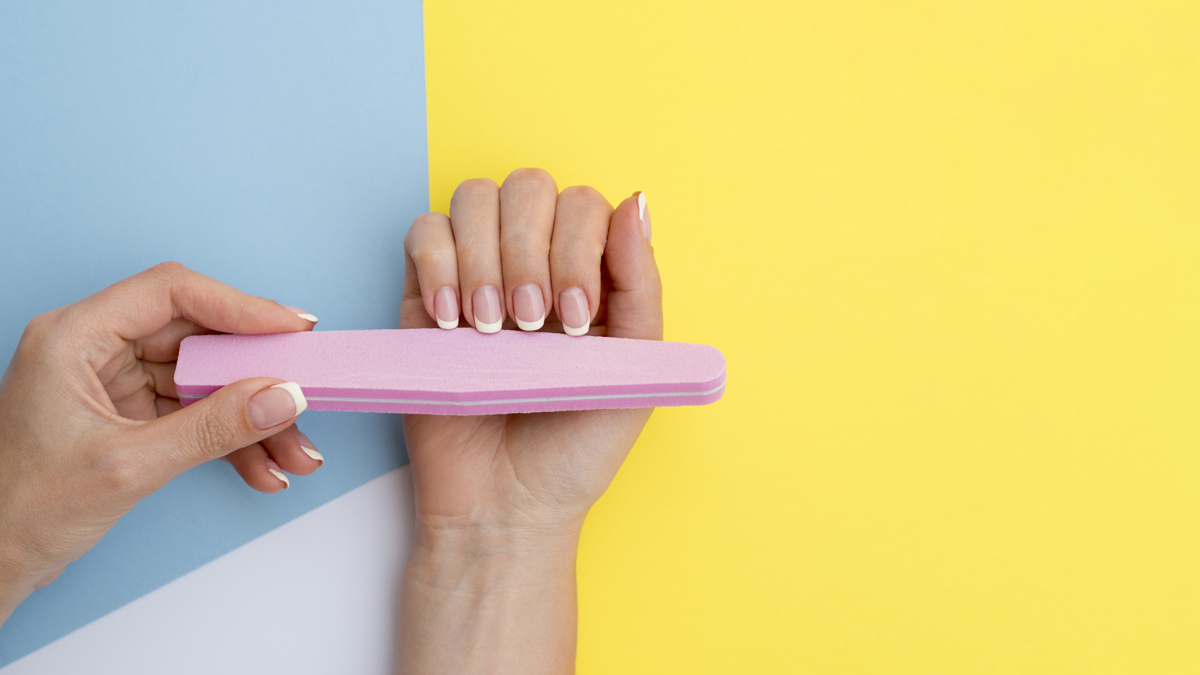
The first step: filing
The first thing you need to do is to shorten the nails to the desired length. To avoid damaging the natural nail, do not use scissors or clippers. Manicure masters advise shortening the nails with a 180/180 granulation file, moving it in one direction.
Using the same file, remove the final shine from the surface of the nail. With light movements, remove only the surface layer of gel polish, taking care not to damage the natural nail. After that, remove the dust from the nail with a dust brush. Filing is a must step which enables easier and faster treatment with the gel polish remover.
Removing gel polish – the most important step
It’s time to prepare the foil with a sponge for removing the gel polish. Apply the soak-off remover on the pad and place it on your finger. Wrap your finger with the rest of the foil and press it lightly on the sides.
It is best to use special foils with pads or sponges for this purpose. In the absence of material, you can use classic aluminum foil or soak off clips to remove permanent varnish, in combination with makeup remover pads. If you do not have a remover, acetone for nails will also serve well for this purpose.
Leave your fingers wrapped in foil for 10-15 minutes to allow the product to work. Then unwrap the foil and remove the remnants of the gel polish with a suitable gel polish remover tool, like a cuticle pusher or a wooden stick.
After that, you need to “degrease” the nail plate and prepare it for the next treatment. Use a buffer file of 220/280 granulation and buff the entire surface of the nail. Finally, use a brush to remove any remnants of dust from the nail that remained after filing.
The final step: care and beautification
After you have successfully mastered the challenge of how to remove gel nail polish, there is a more fun and familiar job for every woman – nail polishing. Read the expert tips to make your nails more beautiful at at-home terms. Don’t forget after nail painting to use cuticle oil, which nourishes the skin around the nail and makes it soft, healthy, and hydrated. Finally, clean the work surface and disinfect the accessories you used.

If your nails are extremely thin and brittle, we suggest that you use this time of isolation to strengthen them with a nail reconstruction treatment. This product can be used on its own by applying it directly to the nail, or you can use it over nail polish. To see results, apply the treatment daily, for a month.
At a time when it is necessary to change the way of care and beautification, each of us can become a manicure master. We are sure that you now have enough free time for that. It is important to be patient and careful, to better master the basic techniques and little secrets of great manicure masters. Have you already tried removing gel nail polish by yourself?