Would you like to decorate your nails like a real nail art master? If you do not have enough patience and skills, nail stamps are a simple, fast, and efficient solution.
If you have not yet been convinced of the benefits of “stamping” nails, it is high time to learn how to use templates and nail stamps.
The technique of decorating nails with a stamp provides an unlimited number of possibilities, and the result is beautiful nails that everyone will notice. The procedure itself is not complicated, but it takes a little practice. After the first time, you may not be thrilled with the result, so try again, until you have completely mastered your stamping technique. Highly pigmented nail polishes and special accessories are used for stamping.
What you will need for nail stamping:
- Base (nail polish, gel, or gel polish);
- Template of desired design;
- Polish of appropriate color for patterns;
- Scraper;
- Stamp;
- Finishing coat (topcoat);
- Polish remover.
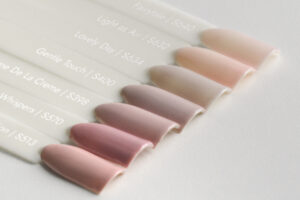
Good Choice of Bases
Stamps are never applied directly to the nail. To make your nails beautiful, it is first necessary to do a classic manicure: prepare the nail plate, remove the cuticles and apply the base. Then choose the appropriate shade of base coat, gel, or gel polish and paint your nails in the usual way.
Make sure that the base color matches the color you will use to decorate. Wait for the varnish to dry completely. Only then do nail stamps come into play. You can use a latex cuticle guard if you want, which will protect them when applying the stamping technique. Apply the product around the whole nail and wait for it to dry. Then move on to the next step.
Stamping Image Plates Push the Boundaries of Creativity
Stamp image plates are metal plates on which patterns of various designs are engraved. The size and shape of the pattern itself do not affect the final result, unlike the technology of engraving motifs on tiles.
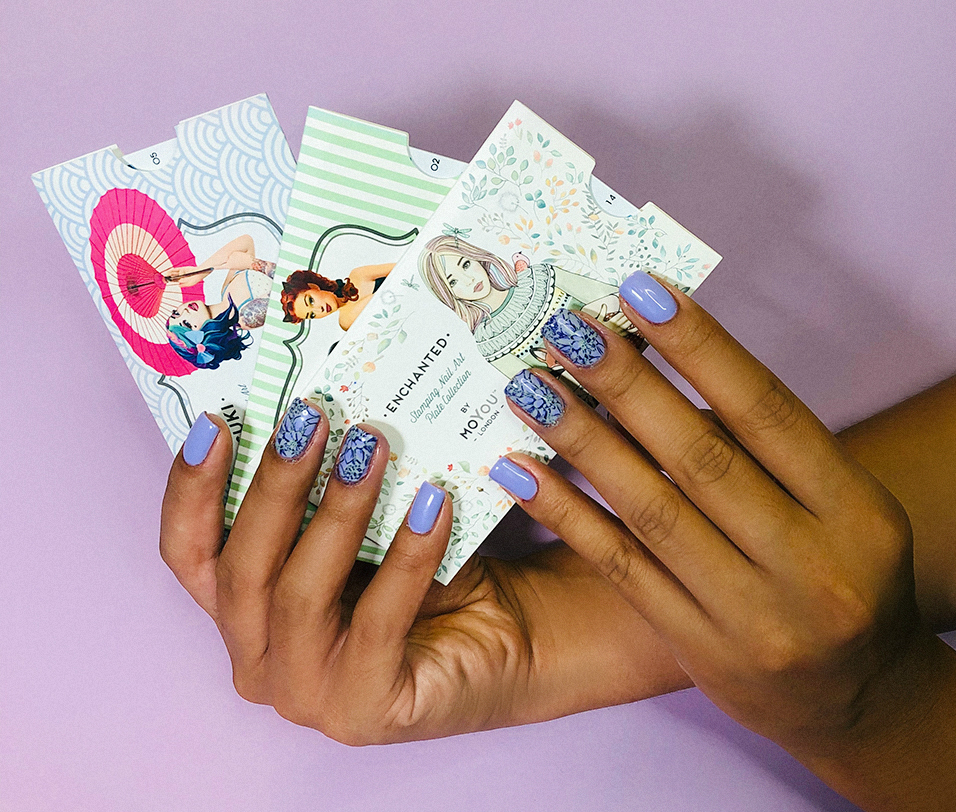
With the MOYOU stamping plates, the patterns are laser engraved, which allows for better precision when transferring the design to the nail. There are countless possibilities to have a unique and creative nail design. Choose your favorite collection and combine your favorite motifs.
Stamping Polishes
For nail stamping, to achieve the best effect, it is recommended to use special varnishes created for that purpose. Our recommendation is to use MOYOU stamping polishes for patterns. Once you have mastered this technique, you can use other nail polishes. It is important that the varnish has a thicker structure and has high pigmentation.
Scrapers and Nail Stamps
Stamps and scrapers are indispensable tools for transferring patterns from plates to nails. They can be of different sizes and colors. The most important thing about the stamp is that the pad is not too smooth so that the motifs can stick together properly. For longer use of stamping plates, plastic scrapers are recommended because they do not damage the tiles.
How to Use Nail Stamps
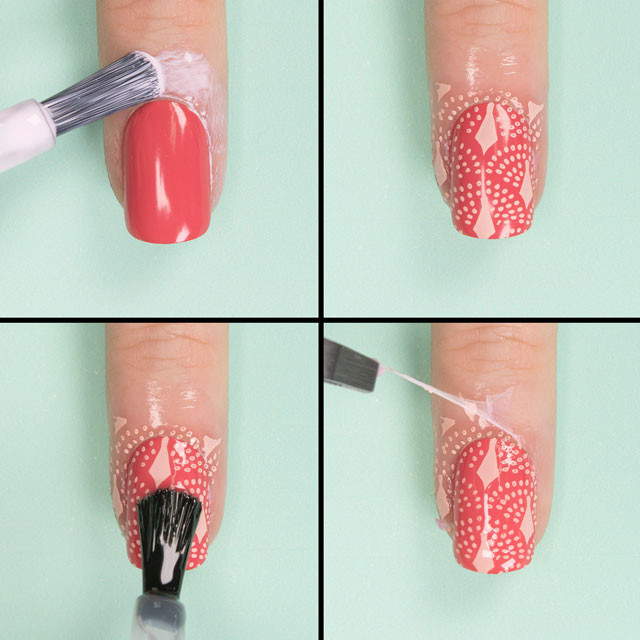
First, remove the protective foil from the plate, and then follow the next steps. Once you have applied the base color to the nails, wait for it to dry well, after which you can start stamping. The most important thing is to make quick strokes so that the nail polish does not dry before applying to the nail.
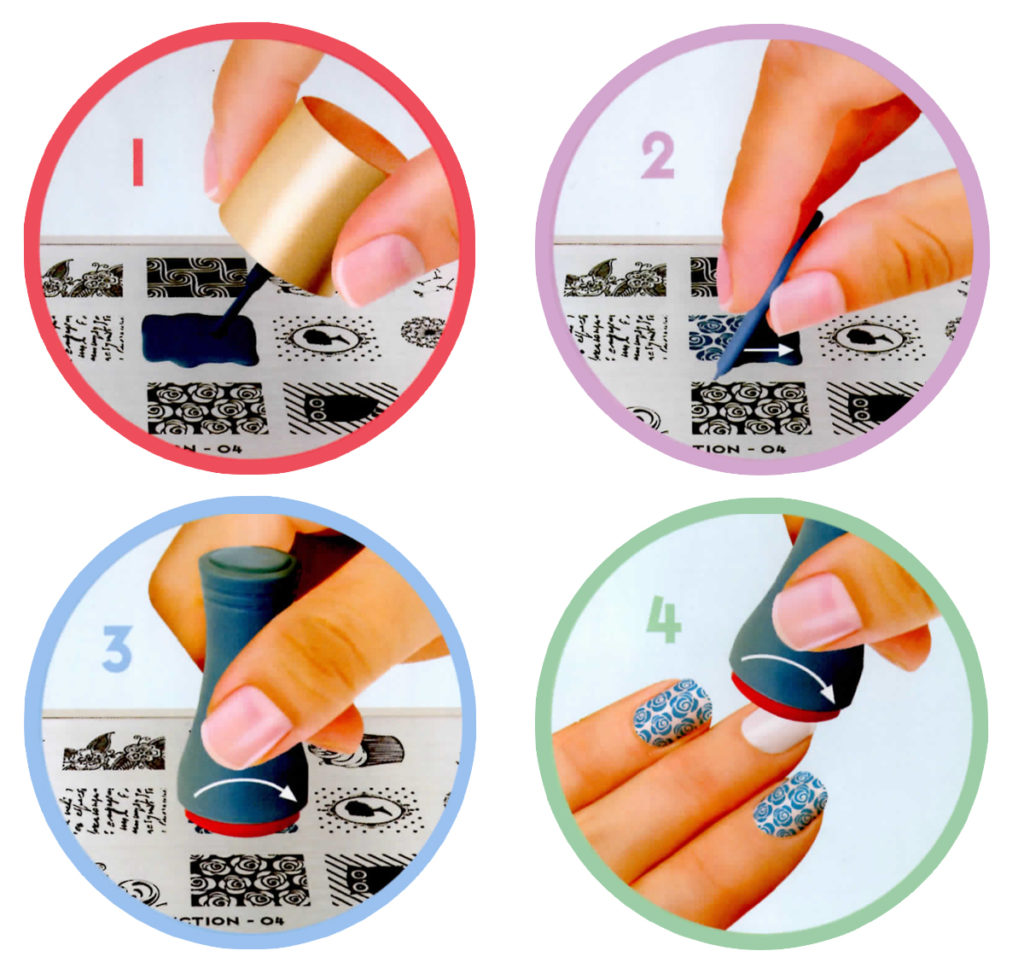
Procedure:
- Nail polish: Choose your favorite nail polish and apply it on a template with the desired design.
- Scraper: Remove excess varnish with a scraper, preferably at a 45-degree angle.
- Stamp: Attach the stamp to the colored design to stick the motif to the pad.
- Final step: Transfer the stamp with the design to the painted nail.
Don’t Forget the Final Layer
In order for the patterns on the nails to be permanent, after applying the varnish, it is necessary to apply a final layer, with a matte or glossy effect. Galaxy Top Coat is formulated to provide color longevity. It provides extra protection and shine.
If you used liquid latex, now is the time to remove it. If you skipped this step, remove the nail polish on the cuticle in the usual way.
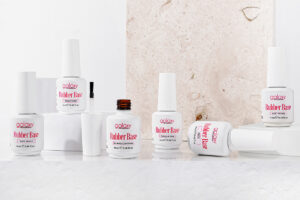
Varnish Remover Is Necessary for Cleaning and Maintenance of Tools
After each use, it is necessary to clean the tools you used. For that, you need a nail polish remover without acetone and oils, as well as manicure pads. Clean the stencils as precisely as possible, so that excess varnish does not remain in the patterns.
Watch a video that explains in detail how to properly use and clean nail stamps.
The more you practice, the sooner you will perfect your nail stamping technique. Combine different motifs and colors of varnishes. Nail stamps are the best way to show your creativity.
We will be happy to post your photos on social media. Share your experience with us.


Comments