Who could not love eyebrows – the way they highlight the eyes, add a unique character to the face and even reveal unspoken emotions? For decades, one product has ensured this standout feature always looks its best: the brow pencil. Trends may come and go, but this timeless classic remains a staple in our makeup routines, whether for day or night.
With the constant evolution of makeup products, the brow pencil has also come in a variety of tip shapes and shades, giving rise to new application techniques. In this blog, you’ll discover the key factors, tips and tricks that will help you make the most of this well-deserved favourite.
What Effect Does the Brow Pencil Have Depending on Its Tip
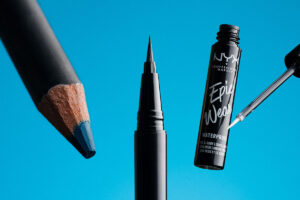
When we talk about the type of brow pencil, we’re actually referring to the shape of its tip. The tip determines how precise your strokes will be, how natural your brows will look and how quickly you can achieve the desired result.
Ultra-Fine Tip
This type of brow pencil is the perfect choice if you want fine, precise lines that mimic real hairs. It’s ideal for drawing each hair individually, following its natural growth direction. It creates a completely natural look and is especially useful for lighter or thinner brows.
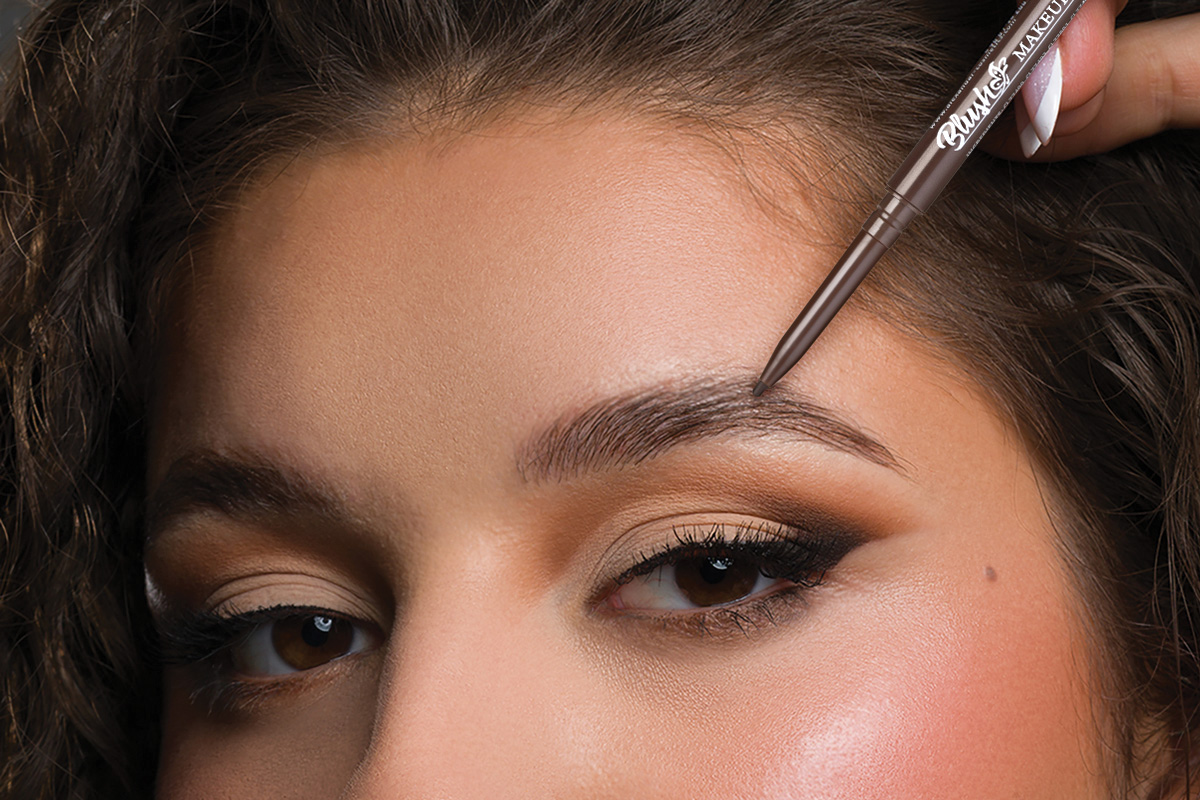
One of our favourites in this category is, without a doubt, the Blush brow pencil. In addition to its ultra-fine 1.7 mm tip, this pencil is waterproof and extremely long-lasting. It allows you to fill in gaps with precision and draw each hair individually, while the spoolie on the other end gently softens any harsh lines for a flawless, natural finish. All that’s left is for you to choose the shade that suits you best.
Classic Tip
Shaped like a regular writing pencil, the classic tip is excellent for shaping, filling in and achieving a powdery brow effect. This type is more pigmented, clearly defines the brow shape and gives a neat, polished look, making it ideal for most brow types and quick makeup routines. Because the strokes are thicker, it isn’t meant for mimicking individual hairs. Instead, it’s perfect when you want even coverage and controlled shaping. Especially in the middle and inner parts of the brow.
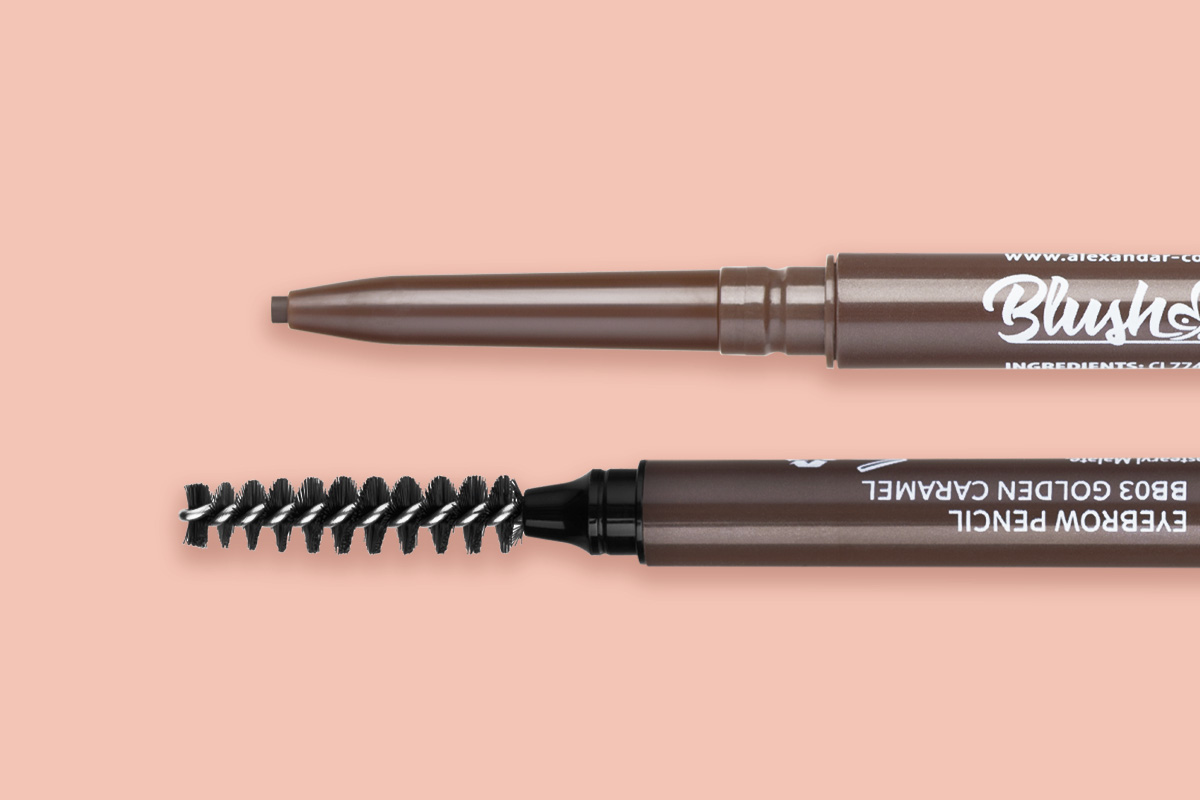
If you’re looking for a product like this, the Blush BB brow pencil will definitely catch your eye. Thanks to its high pigmentation, it shapes and fills in your brows more quickly. Its sharpenable tip allows you to adjust the precision and density of your strokes as desired, while the spoolie on the other end helps blend everything to perfection.
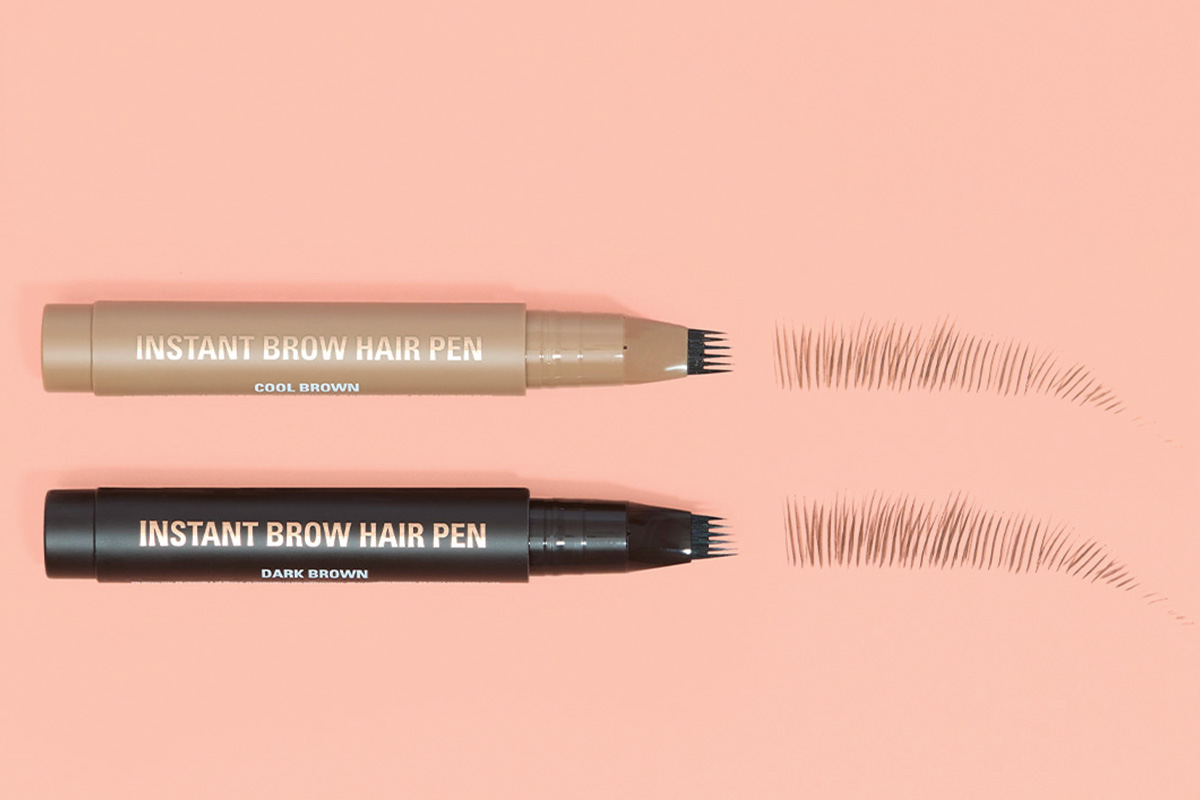
Fork Tip Brow Pencil
This type of brow pencil is designed for those who want the best of both worlds. The forked tip allows you to draw several parallel lines at once. This leads to quickly creating full, defined brows while still maintaining a natural effect. It’s an ideal solution for medium to dark brows or for quick and effective filling.
A well-praised standout is none other than Makeup Revolution Fill & Define brow pencil with a six-pronged tip. Its lightweight formula lets you build intensity as you like, effortlessly creating a microblading-like effect. Perfect for defined, natural-looking brows anytime, without a trip to the salon.
How to Choose the Right Shade
A brow pencil in the right shade can highlight your natural shape, fill in any gaps and make your brows look harmonious with your entire face. When the colour matches your hair and skin tone, your brows appear defined yet natural, without any harsh contrast.
To make your choice easier, we’ve prepared a guide suggesting brow pencil shades that best suit different hair colours.
- Blonde hair – For a natural look, choose pencils in cool or neutral brown tones, such as taupe, light brown, dark blonde, ash brown or ash blonde. These shades gently fill in your brows without creating a harsh contrast.
- Light to medium brown hair – Pencils in warmer brown shades are ideal, as they define the brows while keeping a natural look. Suitable options include neutral brown, cool brown and medium brown.
- Dark brown hair – Darker pencil shades, such as dark brown, enhance the shape and fill in gaps while keeping your brows harmonious with your hair colour.
- Red / auburn hair – Choose pencils with a reddish undertone that complement the warmth of your hair, such as warm brown or auburn, for a harmonious and subtle finish.
- Black hair – Very dark or black-brown shades, such as dark brown and espresso, are best for achieving defined brows that match the intensity of your hair colour.
The Perfect Duo – Brow Pencil and Gel
Over the years, brow gels have continued to delight makeup lovers with their improved formulas. From pots to tubes, this product has become a true favourite, especially when paired with a brow pencil. But what’s the correct order of application? Fortunately, there isn’t just one right way. It all depends on the effect you want to achieve.
If you prefer lightly setting already defined brows, start by brushing them, then fill them in with a pencil and finish with a gentle swipe of gel. This way, you “lock in” the result while the gel applicator softens any harsh lines. Are you more of a fan of the popular brow lift effect and a natural look? Brush the gel through your brows first in the direction of hair growth. Then, fill in any gaps with the pencil. And most importantly, if using gel first, wait for it to dry completely before applying the pencil to prevent the pigment from smudging.
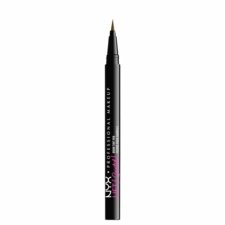
If you find that the colour smudges even when the gel is dry and you have oilier skin, a handy trick is to try waterproof brow pencils, such as the NYX Professional Makeup Blade & Shade brow pencil.
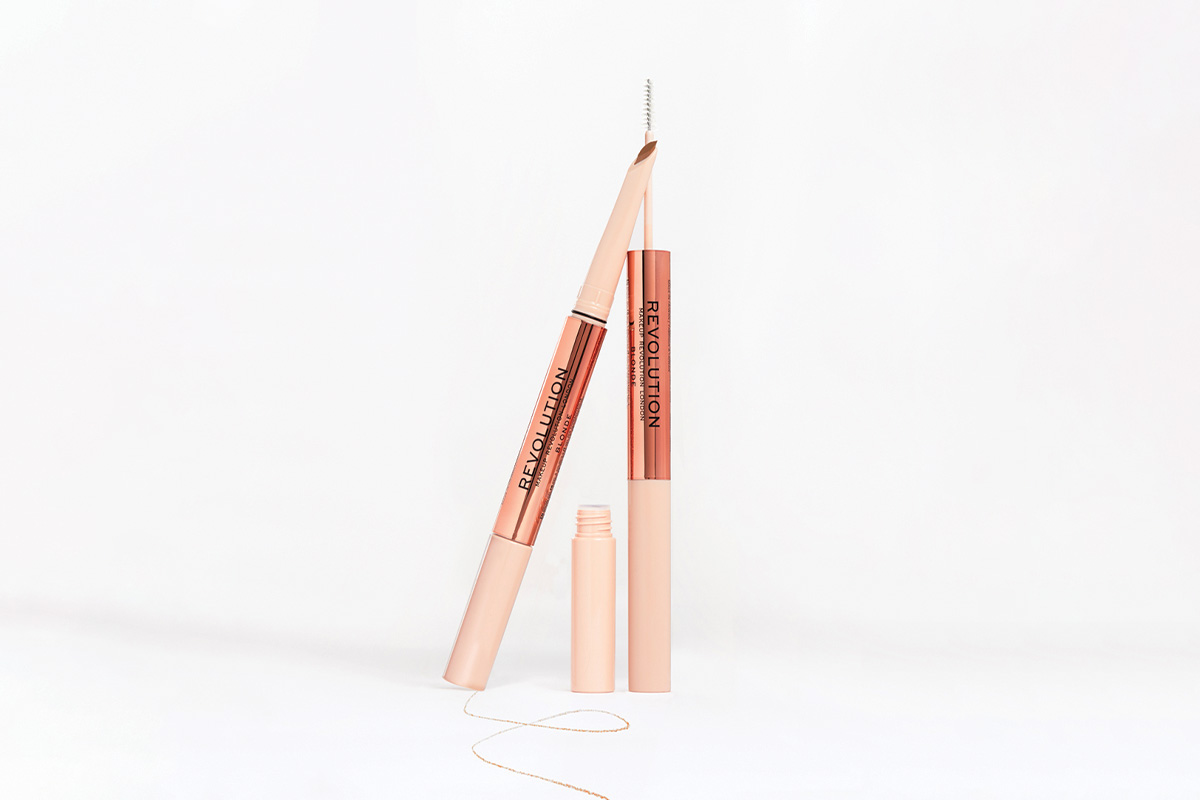
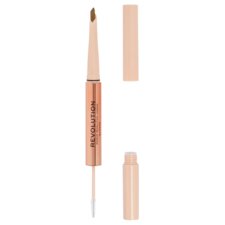
For drier facial skin, opt for creamy brow pencils and lighter gels. This will greatly reduce the chance of flaking and harsh lines. If you also love practical solutions, the Makeup Revolution 2-in-1 brow pencil and gel will become your new favourite. With a creamy pencil on one end and gel on the other, this single product lets you achieve neat, filled-in and perfectly set brows.
Tip of the Day
Easy to use, practical, and available in clear or tinted formulas, brow gel is truly a great solution. However, there are a few unwritten rules worth following. To make your brow gel work effectively, it’s important to clean your brows and let them dry before application. After use, it’s a good idea to wipe the area above and below your brows that came into contact with the gel. This ensures that any foundation applied afterward adheres smoothly to the skin, rather than sticking to leftover gel, helping to prevent caking and uneven patches.
In addition to keeping your brows clean, it’s important to clean your gel applicator as well. If any residue from previous use remains on it, the gel can degrade. This way, it affects both the quality and safety of the product. Additionally, it can impact the result on your brows, causing uneven texture and finish.
|
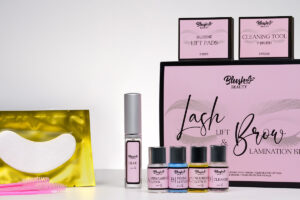
This duo is both effective and efficient for everyday use. But, if you’re looking for longer-lasting results, brow lamination or Japanese brow technique can be excellent alternatives. At the Alexandar Cosmetics Educational Centre in Novi Sad, you can master useful skills through the Lash & Brow Lift training. From preparation and the procedure itself to proper aftercare. This way, you achieve results that last for weeks, while gaining the knowledge that lasts a lifetime. |
When well-defined brows complement your facial features, your makeup and overall look truly reach a whole new level. So how could anyone not love everything a brow pencil can achieve? Can you even imagine doing your makeup without it?
-1.jpg)
-3.jpg)


6.jpg)
7.jpg)

.jpg)

-1.jpg)
-1.jpg)